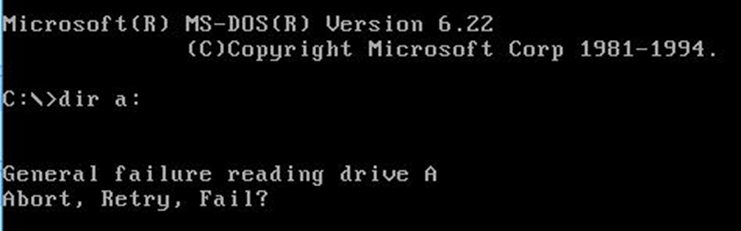
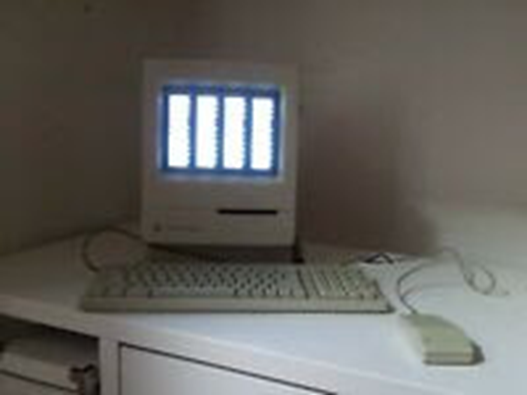
I recently acquired an Apple Macintosh Classic II, the last of the iconic black & white compact macs. Sadly, it was suffering from an issue common to a lot of these old macs, in that when switched on you are presented with the following screen,
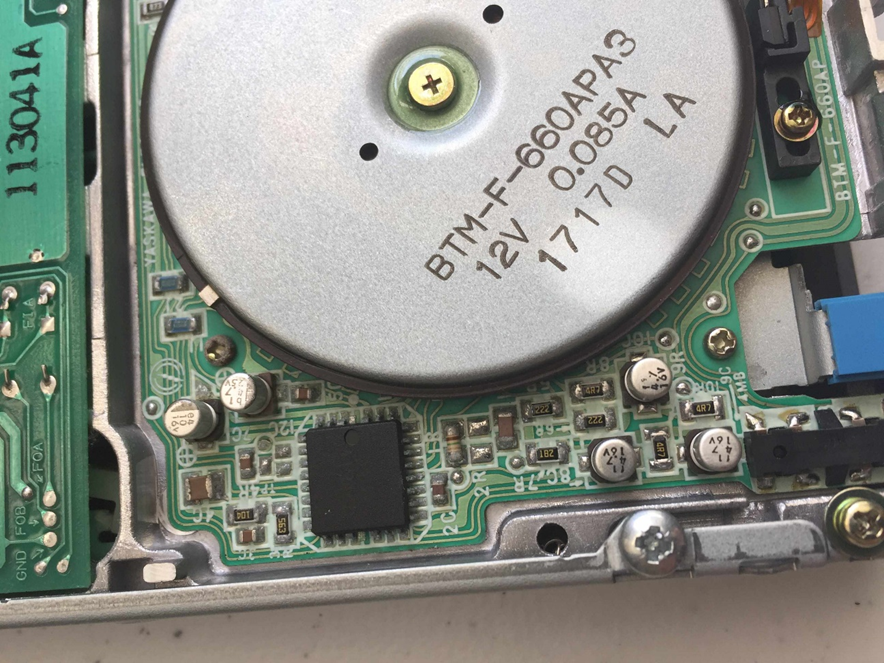
The root of the problem is that the capacitors on the motherboard have started to leak and unfortunately the fluid is conductive and plays havoc with the surrounding ICs.
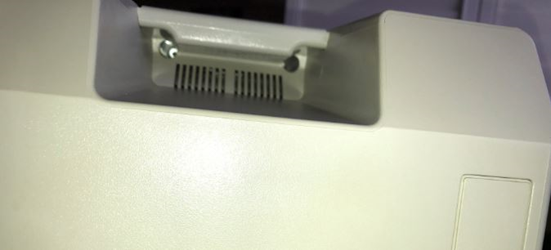
In theory, it’s fairly easy to open the Mac up, however note the two torx screws at the top of the case require an especially long screwdriver to reach them.
Once open, the power, floppy and hard disk cables can be unplugged and the motherboard removed. Close inspection of this machine showed that capacitor fluid had clearly got onto sensitive parts of the pcb.
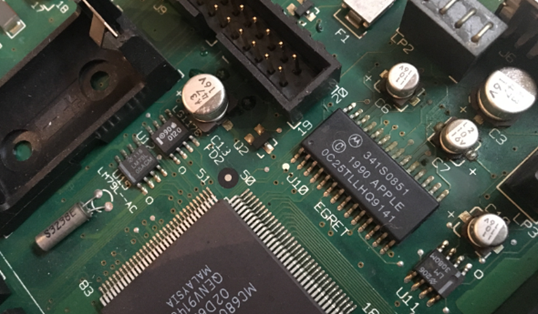
Fortunately, if this residue can be removed then it’s likely the Mac will once again be able to boot. The question is how to go about that. Ideally you would painstakingly work on the areas with a soft toothbrush and isopropyl alcohol, however this can very time consuming and the clear fluid makes it very difficult to know if you have got everything.
There is an alternative that seems more foolhardy than brave, but anecdotally across the web seems to yield good, long lasting results. Which is to simply put the motherboard in the dishwasher.
To ensure the best outcome, the following approach is recommended.
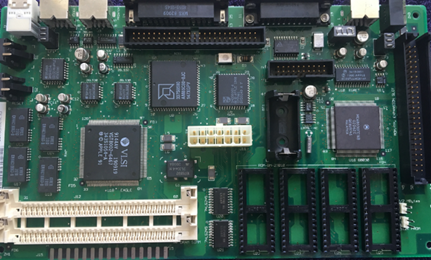
- Remove the main IC ROMS
- Use your dishwashers cool/delicates wash programme
- Put in only a small amount of dishwasher detergent
Once the board has been through the wash cycle, it’s imperative to ensure that is completely dry before reassembling. Forty-eight hours in a warm place, such as an airing cupboard is advised, plus the use of a compressed air cannister to remove water from under sockets.
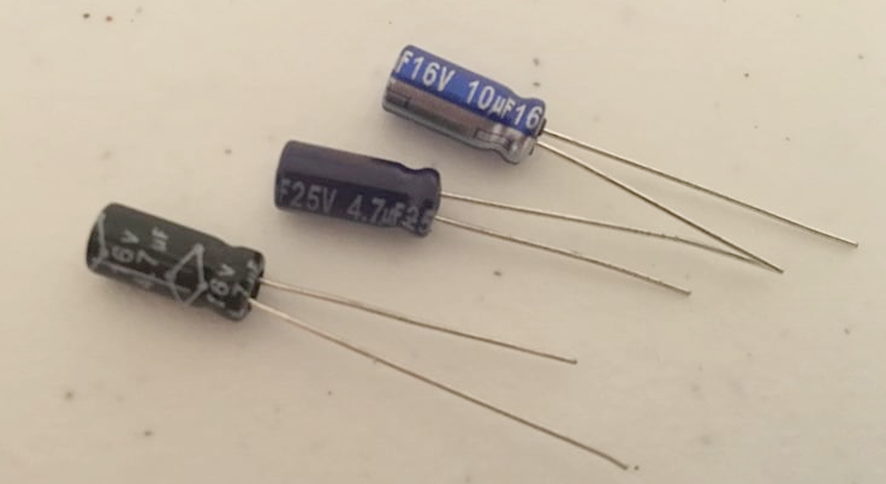
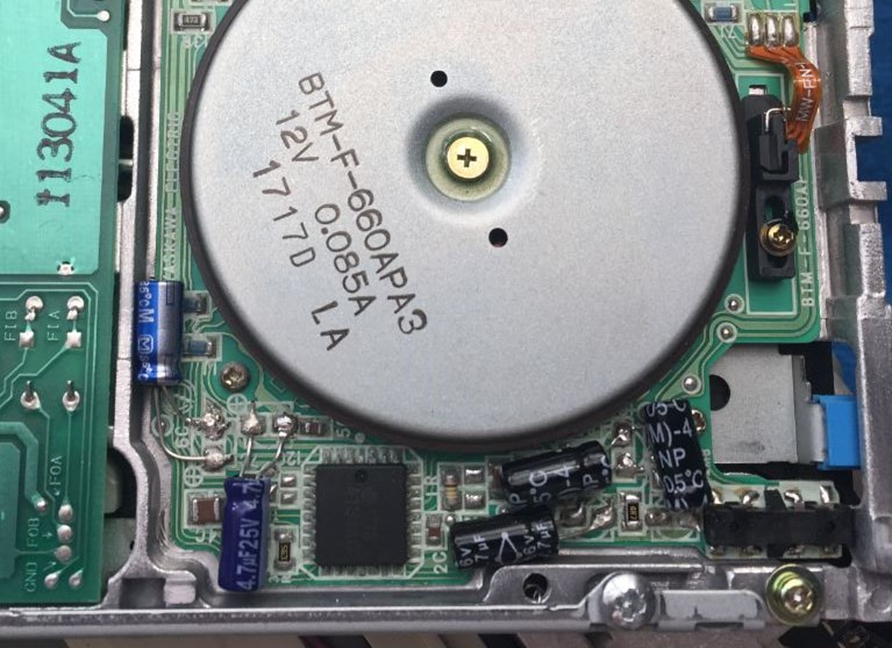
Also, this is only ever a temporary fix. Over time the capacitors will leak more causing the problem to return. The only permanent solution is to have them replaced. As it it will be a while before I get a chance to do this, I used some conformal coating to protect the surrounding ICs.
Reassembled and time for the moment of truth!
In general, this macintosh is once again full operational, but sadly the startup bong is missing. The loss of fluid from these capacitors has been enough to lose all audio. Hopefully a full recap will restore it.