I recently acquired an IBM PS/2 Model 35SX (8535). It was overall in very good condition, however it quickly became obvious that the floppy drive had suffered the fate that seems to await all PS/2 floppy drives, a complete inability to read or write disks.
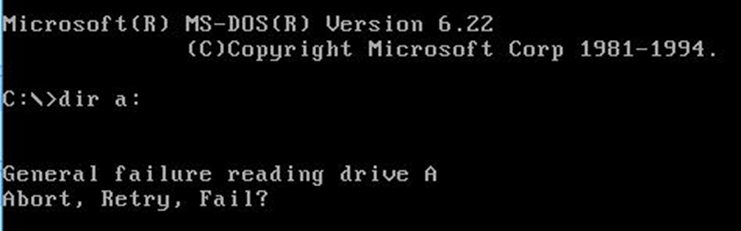
PS/2 floppies are notorious for the failure of the SMT capacitors on the logic board, resulting in the drive still functioning in terms of head movement and LED activity, but any attempt to access a disk results in,
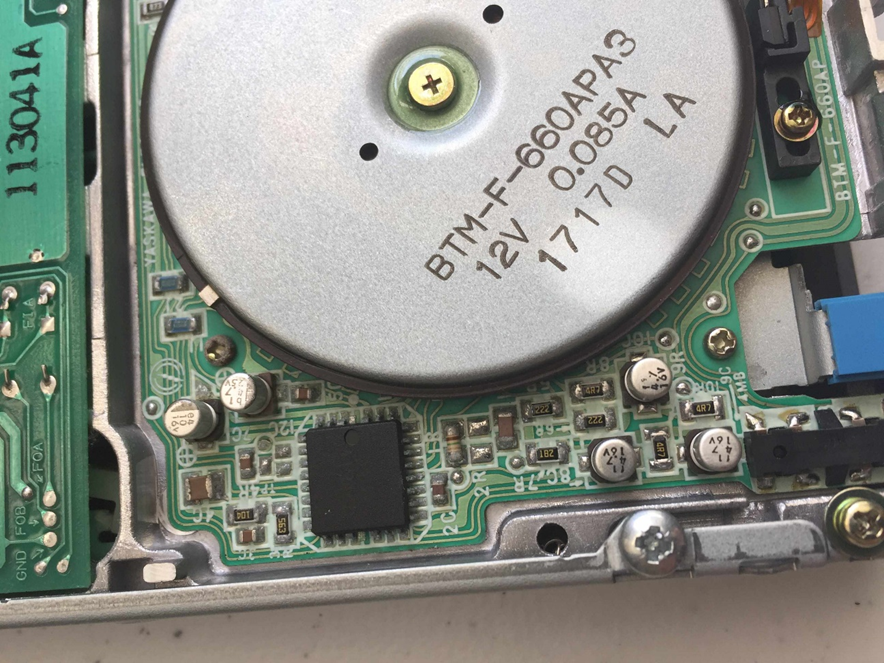
On opening the drive, close inspection showed that some of the capacitors had clearly leaked and I had little confidence the remaining ones were going to be of much use. In situations like this when recapping old electronics, it really makes sense to replace as many as you can in one go. If some have failed it’s likely others will fail in the near future.
The capacitors are very small and removing them, whilst not damaging the pads is difficult. There are a number of suggested approaches, I ended up cutting most of the capacitor away with some small sharp wire cutters. I could then gently heat the pad and the last bits of the legs came away cleanly.
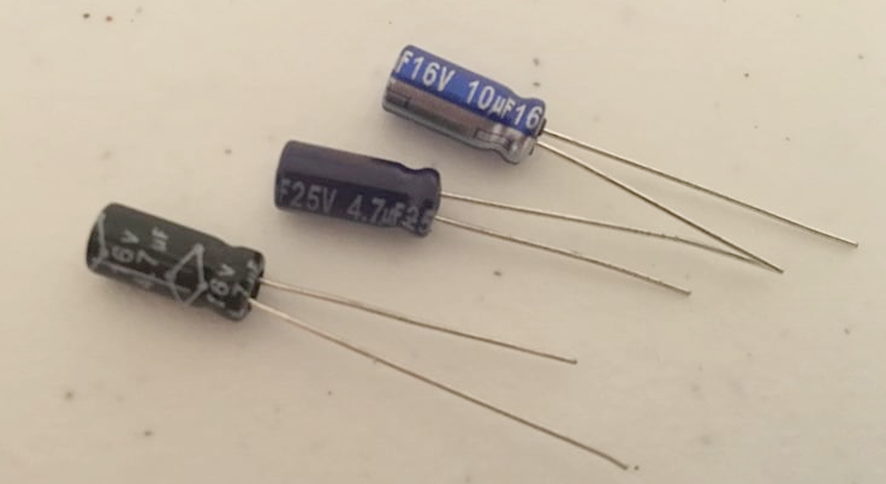
Once the original capacitors were removed and the leakage cleaned up, the next problem was sourcing and fitting replacements. Given the poor state of the pads and the difficulty in soldering surface mount parts, it was easier to use leaded replacements.
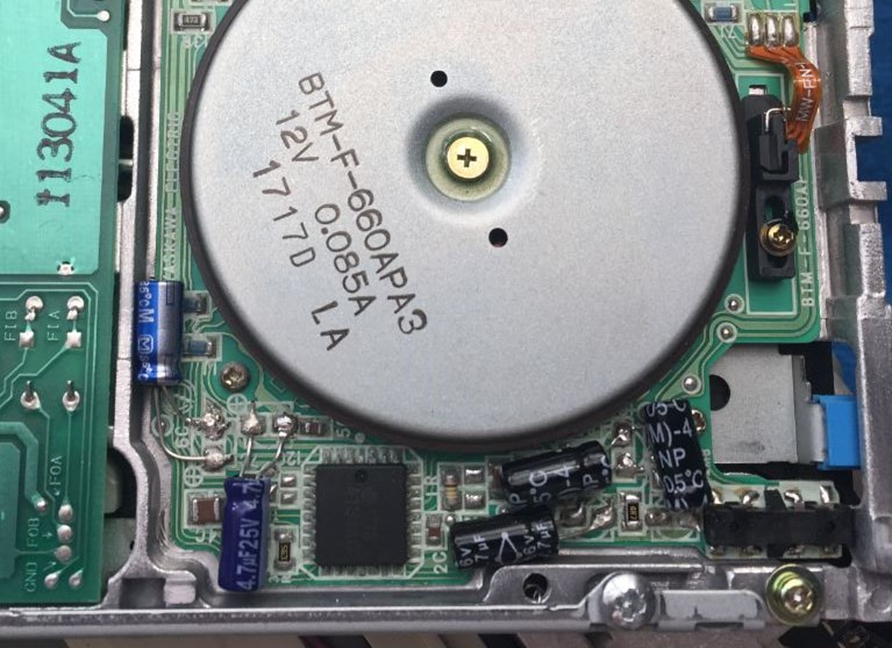
As you can see they are substantially larger and are obviously designed for through-hole mounting. The trick was to take advantage of the excess length of the legs to bend them into a shape, so that when the capacitor was laid horizontally, a portion of each bent leg ended up making reasonably firm contact with the pad (taking care with polarisation where necessary).
With a little bit of masking tape to secure the position, solder could then be applied to the bent leg and pad and once each leg was secure, the excess lead could then be snipped off.
With capacitors replaced, the drive heads were given a quick clean and the unit reassembled for testing.
Success!!